February 27, 2011

Baby Making

Or I should say, making for baby (but I got your attention, didn't I?!)  Last week I finished another dress for E.  It was exciting seeing it come together and has inspired me to try to make a sweatshirt for her next (we shall see how that goes!)  Honestly, though, it's never hard for me to find things I'd like to make.  I have a constantly-growing bookmark folder dedicated to potential projects!  Here are a few that are currently at the top of my list:

To wear...
This adorable sun suit has a full (and free) tutorial over at Made By Rae - E had one last summer and looked SO adorable I think she needs one for this coming summer as well!!

This may be cheating, but this is the wonderful reversible-dress that I completed last week!  You can get the pattern, which comes in several sizes, from Owly Baby - here

Here is my next project - this little sweatshirt from Heidi & Finn is just too much (in the best of ways!)  I have the pattern, now I just have to find the perfect fabrics!!  It kind of makes me want to size it up...a lot...as in make myself one!!!

This pretty blue cowl looks toasty - even better, the free pattern on Whip Up is easy enough for a novice knitter like me to understand (and even create!!)  The perfect addition for transitional (read: yucky) weather!

To play...
 It is a fact of life that if my computer is accessible in any way, E will find a way to bang on it.  I think it's time she got her own computer - this fun felt laptop, by Kiki Creates, could take the banging without a permanent system crash - score!

I have been planning on/meaning to/forgetting to make bean bags for E for awhile now.  The mix of fun prints, colors and numbers on these are perfect, and the tutorial by Chez Beeper Bebe very doable!

It looks like an awesome homemade playmate for cars, it's also a sleek messenger bag!  E loves cars, even though she hasn't fully grasped the concept that they only drive on roads.  Regardless, I think this messenger-bag-turned-car-town is the perfect on-the-go toy!  Bonus: if you have any car or city themed fabric scraps lying around, they can finally be put to good use!  Check out Gingercake's tutorial to make one for a little one near you!

To carry...
My favorite part about this pencil case (besides the fact that it's from the adorably named Fizz Pop Bang Blog) is that it arose from a mistake - a woolen sweater that was put in the dryer and felted.  I mean really, it has a kangaroo pocket, it just doesn't get much more whimsical than that!
 
Really, piece a bunch of pretty fabrics and you've got me hook, line and sinker - I don't care what it is, I just want to make it!  The great part about this crayon roll-up tutorial on BurdaStyle is that it's something that would be super useful too - I have only been able to find triangle toddler crayons and getting them back in the box is a pain, this roll-up would solve that dillema and make it much easier to take said crayons on the go!!

Another great project from Made By Rae (seriously, her blog is FULL of great projects, a girl could get lost over there in the very best of ways!!)  This toddler backpack is a great use of fabulous fabric AND fully functional, plus the adjustable straps means it can grow along with your little beansprout!!

So are you now inspired to take on a few more projects of your own, what with all our free time (ha!)  What are your favorite kid-centered projects or tutorials?

Pin It

February 24, 2011

Have a Seat


Today I rested in our big brown chair - I should note, our living room is made up of our couch and our brown chair, which actually fits two people (people who should know each other and be comfortable cuddling!)  Our couch was one of the first things we got as a couple when we lived in our tiny one-bedroom apartment many moons ago.  Since it was our only seating for years and years, it's been well loved.  I feel like we have turned a corner in our lives, though, because now the couch seems to belong to the dog and the kiddo (the dog sleeps, the kiddo bounces).  Not to worry, we are not getting rid of it anytime soon - we are confident we can reclaim it at some point down the road - but this did give me the opportunity to do some "window shopping" (online, of course!)  Here are a few seats that I'm currently loving (notice none of them are couches - heh!)...


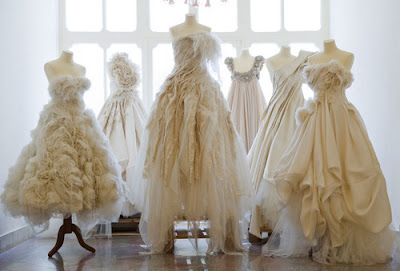
Here are some lovely Eames chairs - are they seating or are they art?  Someday I hope we have one too...


Psst...I also shared these photos on Pinterest, in case you're interested!!
Pin It

February 22, 2011

Bathroom Brainstorm


A few months ago we made some big moves in the house - switching bedrooms, painting, and setting up my studio.  The dust has settled...but today I noticed our bathroom...which has already been painted (by me) three times.  It was cream, then brown (which my dad described as looking like, well, you know), then to a much-too-light yellow and back to a yellowy-cream.  The color is fine, but it needs a bit of sprucing.  We have a large brown towel rack that just doesn't fit and a smaller cabinet from Target that we have had for ten years - pressed wood and plastic, not really our style anymore, but it functions, so it's hard to get rid of.  Then there are our towels which have seen better days, but again, they may not look pretty, but they still work!

My plan of action: dye, paint, use what we've got!   

- Our towels will get a dye job of darkish-gray.  This will be a thin line to walk - too light and they just look dirty, too deep and they will make the room too dark.  I like these:


- The shower curtain, which is currently cream, will also get dyed a shade of gray, perhaps a touch lighter than the towels.

- The cabinet will get a fresh coat of high-gloss white paint and the handles will either be switched out or painted black.


- The top of the cabinet will get stenciled.  I really like this pattern:


- Accessories will stick with the color scheme as well...gray, yellow, white and perhaps touches of a light spa-blue


Here are some other bathrooms (much bigger than ours) that I'm also drawing inspiration from.


When all is said and done - I'll be sure to post a before and after!!  What part of your house do you want to spruce up?  Has the spring cleaning bug bitten you yet??
Pin It

February 19, 2011

Weekend Dreaming...

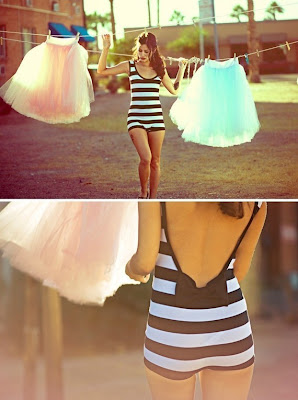
A story or a dream...

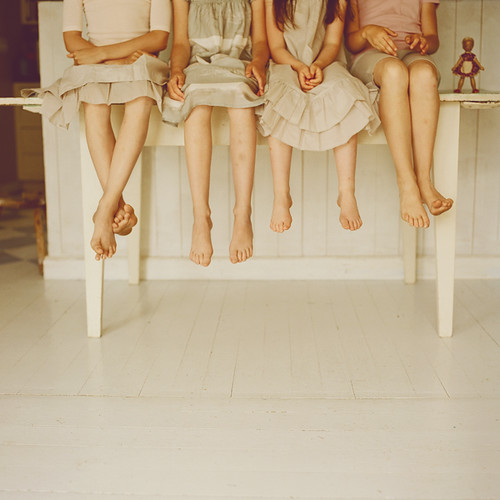
T O E S


Mario Testino
Pin It

February 18, 2011

Tutorial: Tissue Painted Windows

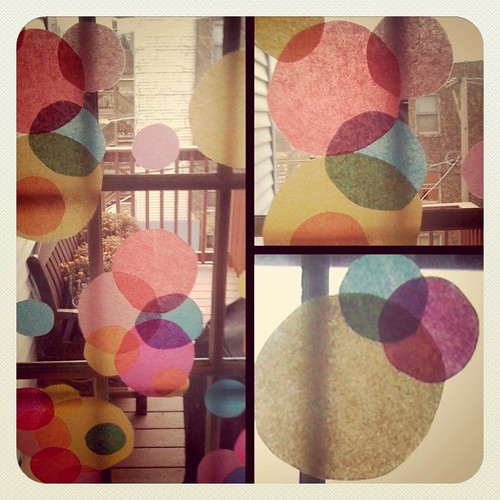
Pretty window circles - a glimpse at tomorrow's post...

Though the temperature has been unseasonably warm over the past few days (melting the snow - hooray!) the skies have not exactly been sunny and blue.  A pretty day here or there, but otherwise it's gray skies all the way.  A few weeks ago I posted about making an ice bunting, and I was amazed at what a difference it made!  I hung it out our back window - a window I look through dozens of times a day since it's located at the back of our one main hallway.  Once the bunting melted it was back to the same, boring gray-and-brown I was sadly getting used to...it was time to bring some color back into our window this week!  Feeling a creative impulse, I decided to use what I had on hand.  Now our window make me smile every one of the million times I see it each day!! 


This easy project took about 15 minutes, but may take you longer or shorter depending on your window size, complexity, and whether or not you have a little one "helping." 

Supplies:
- tissue paper
- water
- Elmer's glue
- paintbrush
- scissors


To-do:
The tissue paper can be from packages you've received or from the store.  Plan out what colors and shape you'd like and cut out your pieces.  Also keep in mind what they will look like when layered!  Mix a bit of glue in with your water - now I just poured some in and didn't measure, but I'd estimate the ratio is 1 part glue to 4 parts water.  


Now the easy and fun part - just use the water mix to "paint" your paper onto the window.  


They will take on a pretty semi-translucent look and dry in about 10 minutes.  Once dry, just take a wet rag and clean up your edges, and voila! You're done!!  You can leave your new design up for as long as you would like...and when you are ready to look at something else (like springtime), just use a warm, wet rag to clean it all off.


The beauty of this project is that you can make it as sophisticated as you want.  I think this would be lovely on a bathroom window, using small dots and only white paper.  This could also be brilliant in a child's room with colorful balloons floating up to the sky (ooooh, I may try that one!!)  You can also get all your supplies ready and have your kiddo work on this project.  Really, the sky and your imagination (oh, and your window size) is the limit!!  

P.S. If you do beautify one (or more) of your own windows, please share - I'd love to see what you come up with!
Pin It

February 15, 2011

Tutorial: Lovely Baby Rags

Newly-binded baby rags!!

When E was an infant and I seemed to have a baby rag over my shoulder or stuffed in my back pocket at all times!  We didn't get any fancy rags because, well, they are rags after all, made for wiping and cleaning (though used for much more, including stand-in diaper when I was caught without a spare diaper liner...a common casualty of never having a designated baby bag!) But when E was little I was too busy being overwhelmed and slogging through new-mommyhood and didn't have the time/energy/creative brain power to put towards such a trivial thing.  Fast forward a year and Hark! I have time!  (Oh glorious naps - cleaning shmeaning, I'd rather be creating!!)  So I decided to do up our baby rags two ways...

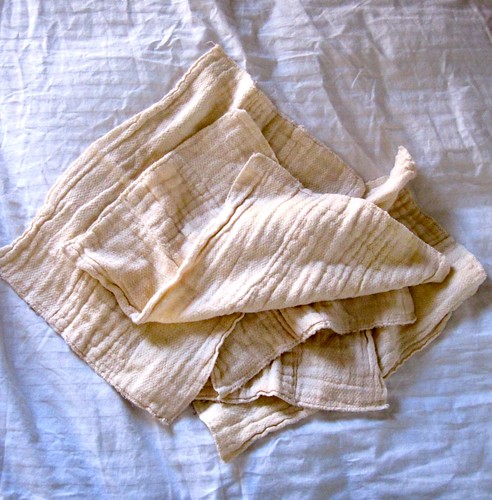
Soft baby rags *before*

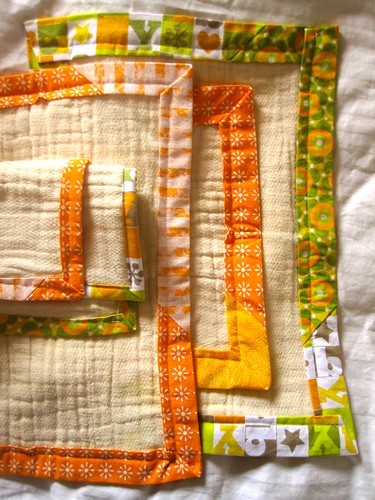
This group of burp cloths are actually organic cotton cloth diapers, a baby gift from some good friends, and with all the washing they have been through, these cloths are super soft!  I didn't want to lessen the usable space, so I decided to make my own bias tape (here's a tutorial on how you can too) using pretty fabric scraps. 

Soft baby rags *after*

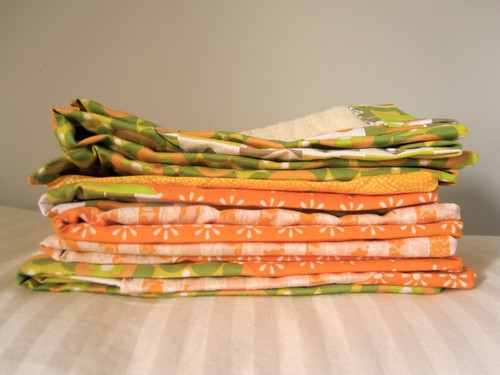
Pile of pretty rags

I love love this fabric, especially the flowers, and am happy that it is gender-neutral enough that boy or girl, our next child will be cleaned up in style!!

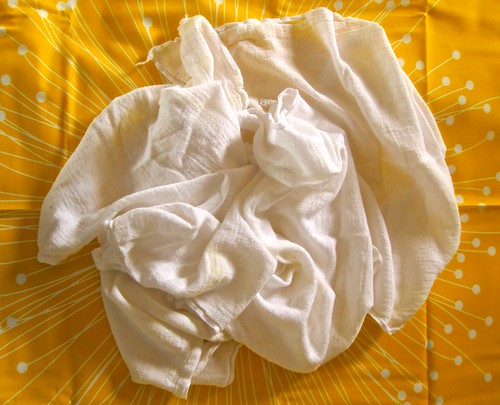
Utilitarian baby rags *before*

My second group of burp cloths was not so soft - this was my utilitarian bunch that gets the job done.

Utilitarian baby rags *after*

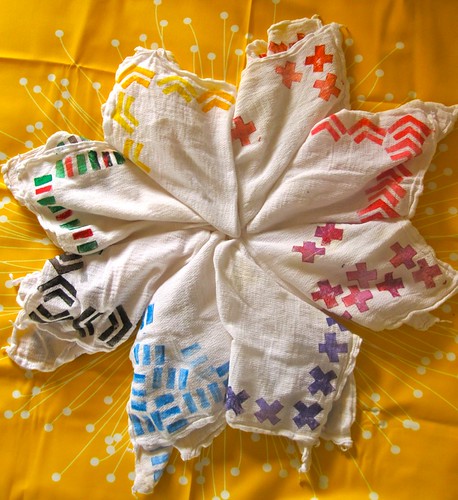
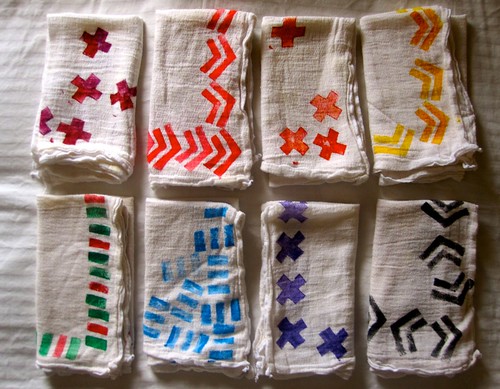
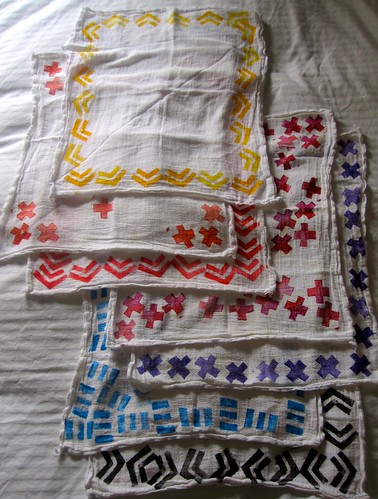
The fabric is thinner and a bit more coarse, as well as a lot less even, so I decided to go the potato-print route.  This had the added bonus of covering existing stains!! 

Utilitarian baby rags prettified!

Pretty potato patterns

I again tried to keep most of the pattern on the outside, so that the inside portion of the cloth could be used for wiping and what-not. 

Potato prints

Potato prints are easy-peasy:
1.) cut away the bits of potato you don't want printed
2.) dip in a bit of fabric paint and stamp away. 

I would recommend a basic design for a greater impact.

The irony of these pretty baby rags is that after I finished, the paint was dry and the pictures taken, I folded them up and put them into storage for our next little one, whenever that may be.  In the meantime, I plan on doing some similar jazzing to my plain white dish towels - FUN!!!
Pin It
Related Posts Plugin for WordPress, Blogger...