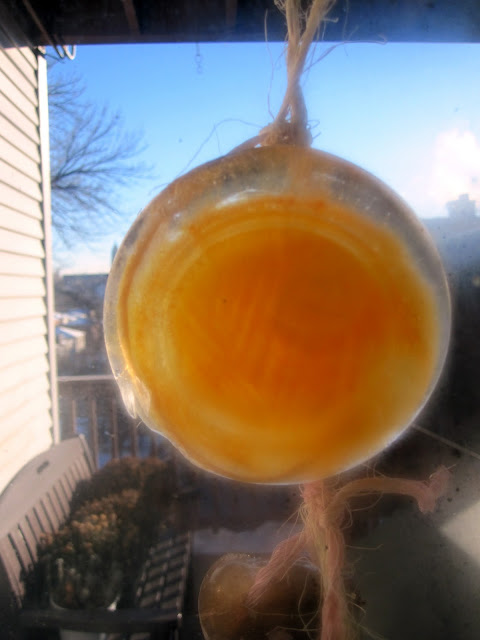
Last
Friday the high temperature in Chicago was 9F degrees. If you ask me,
that's not a temperature, that's a child's age! Needless to say, we
were not spending a lot of time outside last week. To make things worse
it was gray, gray, gray out! So when I came across
Two Chick's and a Hen's
awesome
idea for a colorful ice bunting, I thought, "Frozen fingers be
you-know-what, I'm making it!" and I set about gathering the
needed supplies - molds for the ice, food coloring and twine.
(bunting in the night light)
Some thoughts on supplies...
-
The twine I used was not synthetic, or soft, and when dipped into the
water prior to freezing started to untwist itself, inadvertently dipping
into surrounding molds. Very annoying! Also, because of the rough
nature of the twine my fingers got pretty raw braiding and then tying on
the ice charms. I'd recommend using a synthetic (but strong!) string
instead.
-
Ice molds that worked well included: small Tupperware squares, caps
that go over the top of a bottle or sippy cup, and the tops of circular
tin lip balm containers (that were rubbed with the residual balm - this
is key for getting the ice out of such a small receptacle!)
-
Ice molds that did not work included: film canisters (too small and
deep), hard plastic cups (wouldn't release the ice), the top of the the
lip balm containers without any balm (the ice smashed when I tried to release it!)
The
way our deck is set up, there was no way for me to hang the bunting
alone and without a ladder (and in a place where we would not have to
duck under it every time we go in and out...which for me, is several
times a day!) I decided to hang two rows of bunting in the back window -
it's such a bright and cheery
sight! It's been up now for nearly 5 days and still going strong. We
have not had a day above freezing and I hope to have it around for a
while longer...and hey, if it does melt, this project took me about an
hour, so I could easily make another!!
(pretty view in an otherwise very gray and brown winter world!)
Pin It


